The scenario die roll provided us with a meeting engagement. A single objective was placed in the centre of the board, with a road running almost centre for the entire length. As there was only one objective (worth 10 points) to aim for, the number of worn and spent brigades would be crucial at the end of the game to decide who won!!! Expect furious firefights and combat to ensue! :-)
I won the rolls deciding where I would enter the board, and that I would start first! During the first couple of turns, my first division came on in march column along the road, after rolling well on the combat maneuver table, and proceeded to march at full speed towards the objectve, whilst my artillery headed out towards one of the hills overlooking the town!


 Mike had the same idea for the first couple of turns also, but unfortunately he had a couple of bad die rolls on the maneuver table, and just couldn't get his troops towards the objective quick enough!!

 As we both got nearer to the objective, our lead brigades maneuvered from march column to line, preparing for moving into contact with the enemy. The objective then became one of the hottest properties in this part of the states!

A firefight then ensued between the 2 lead brigades, causing some heavy casualties (2 stands out of 9, to be exact, which served them right for climbing on top of the roof! lol) to the lead Confederate brigade (very unlucky!!!)

Turn 4 saw each of our 2nd divisions enter the battle (as per the scenario) They had to enter the board at the same place as the original divisions. As my first division was doing well on the left side of the battlefield, for the next couple of turns. I decided to march the reinforcements to the right, past the hill and wheatfield.


Mike also had the same idea. It was a gorgeous, open field, and whoever could get there first, and deployed, would have a very good advantage!
 However, due to the high casualties taken by the brigade at the bottom of the image above, and it's retreat due to poor roles on the maneuver table, Mike had to shift one of his brigades to counter my troops on the left

A firefight was raging around the other side of the farmhouse, causing disorder and running out of ammo, so I decided to charge in:


This wasn't such a good idea, as I had to retreat out of musketry range, and the lose of another stand meant that the Brigade was worn (my only one to be so, I might add! lol :-) ) Fortunately, my 2nd division was now deployed, and was ready to head into the fray, and just at the right time, I may add!!!

 This was the scene after about turn 7 or 8
The situation was now very interesting. We both had a fresh, large brigade each on my left hand side (as well as a number of artillery for the Confederates on the hill at the bottom right of the picture), and on the right 2 fresh brigades each facing off (along with 2 of my artillery on a hill just off picture, and with an unhindered field of fire into those massed Confederate ranks)
I decided to go all out in assault against the Confederate line:

 Throughout the whole game, despite having large numbers of troops, we found that both our offensive and defensive firing was really poor, so it all came down the cold steel! My left hand brigade pushed Rebels back, and on the right hand side around the farmhouse, the Confederates took some serious casualties, AND lost their exceptional commander (more points and promotions galore for my boys in blue!)
 On his next turn, Mike also charged in against my line, looking to make up some ground and grab a hold of the objective
 The charge around the right hand side of the farmhouse was very successful, pushing me back, whereas the charge on the left, wasn't as good! After I was pushed back on the right, I decided to go all out in my assaults. I went in with 2 brigades on one. I couldn't lose
 And I did! :-( Mike's troops stood their ground and threw back the assault in disorder with casualties!!
I had to get revenge. My assault on the left went in, with commander attached to the assault, the defensive fire was poor, the offensive fire was even worse! lol The outcome of the charge, however, was astounding. The confederates suffered heavily, and that resulted in another Brigade out of action.

 On the right, I had to get payback for the humiliating repulse of my troops. This time, the result was what I wanted
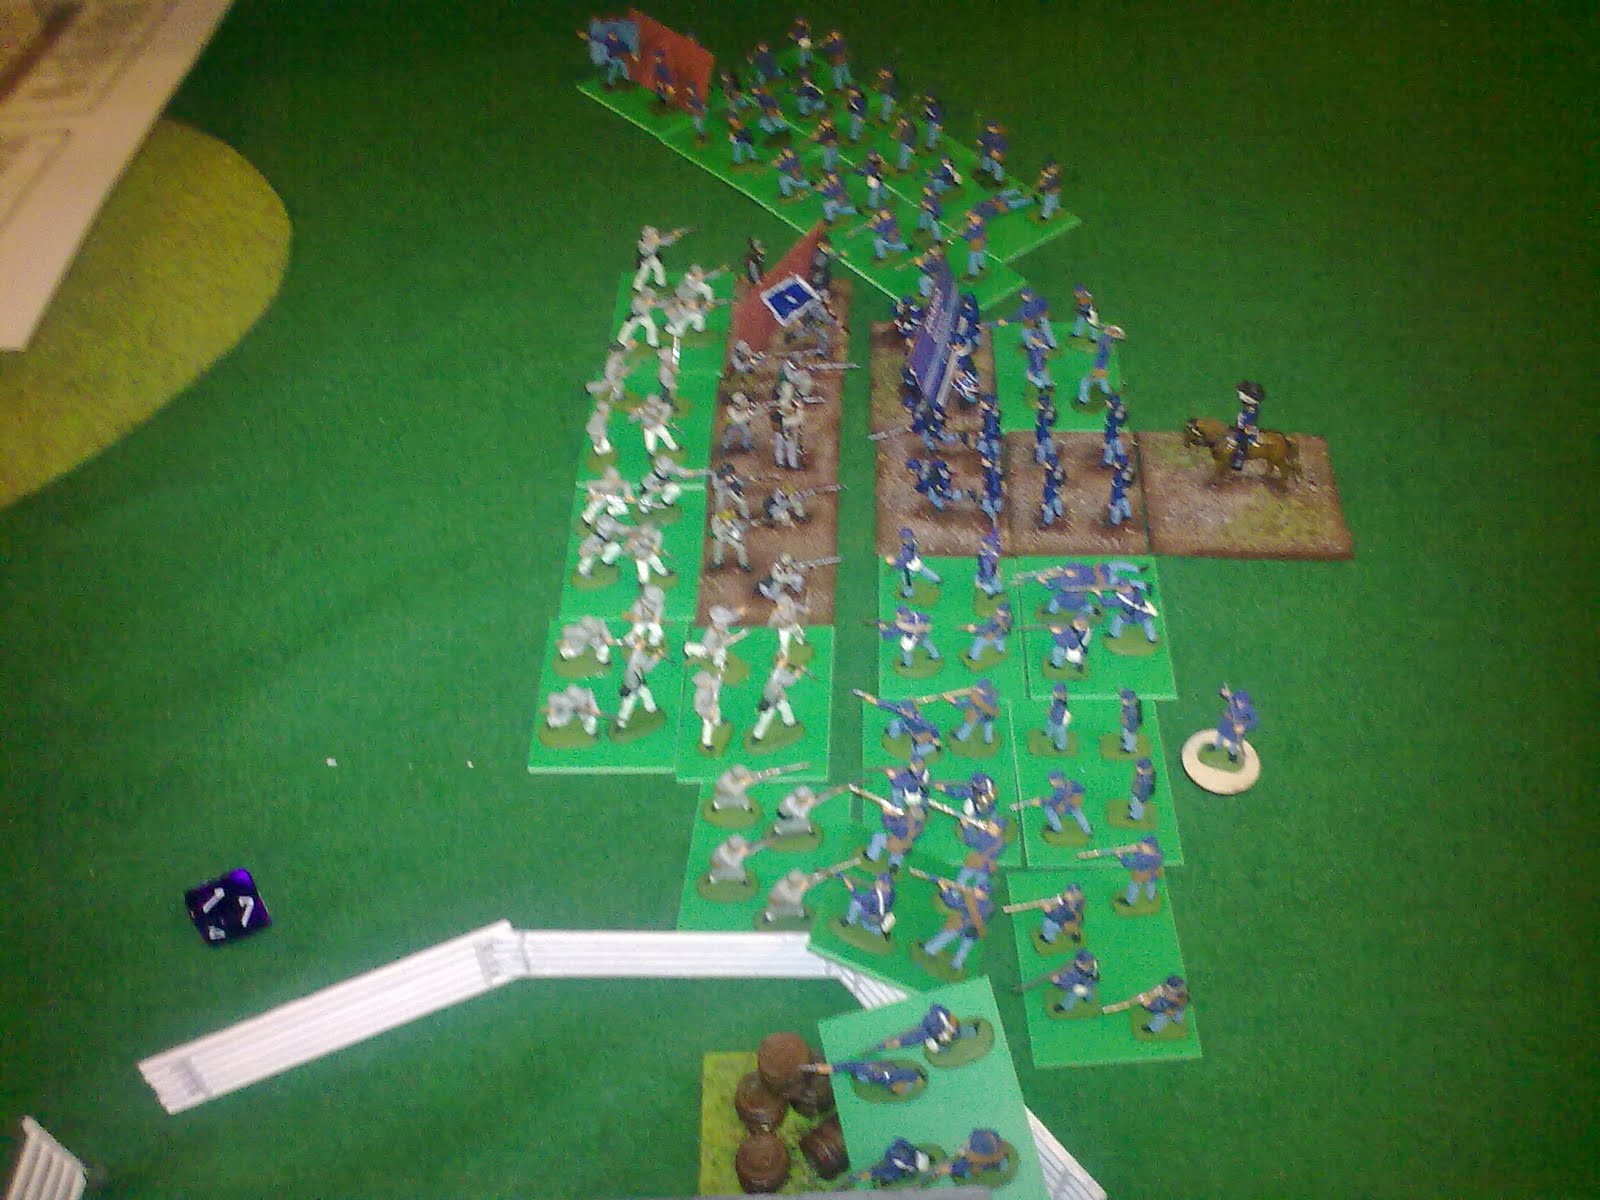
 The closing turn saw the scene as such
 Another good result for the Union, who are definitely in high spirits so far in the campaign. However, it is still early days, with 4 more battles to go!


